Integrations
Connect all your essentials with Retable Enhance your data management and unlock all kinds of functionality.
Pipedream
Build and run workflows using the Retable API. Use 1000s of source-available triggers and actions across 1400+ apps. Or write custom code to integrate any app or API in seconds.
Pipedream is an integration platform built for developers. With Pipedream, you can connect APIs, remarkably fast.
Pipedream enables developers to easily build and execute workflows — often called “glue code” — that integrate apps, APIs and data. Pipedream provides a free, hosted platform for connecting apps and developing event-driven automations.
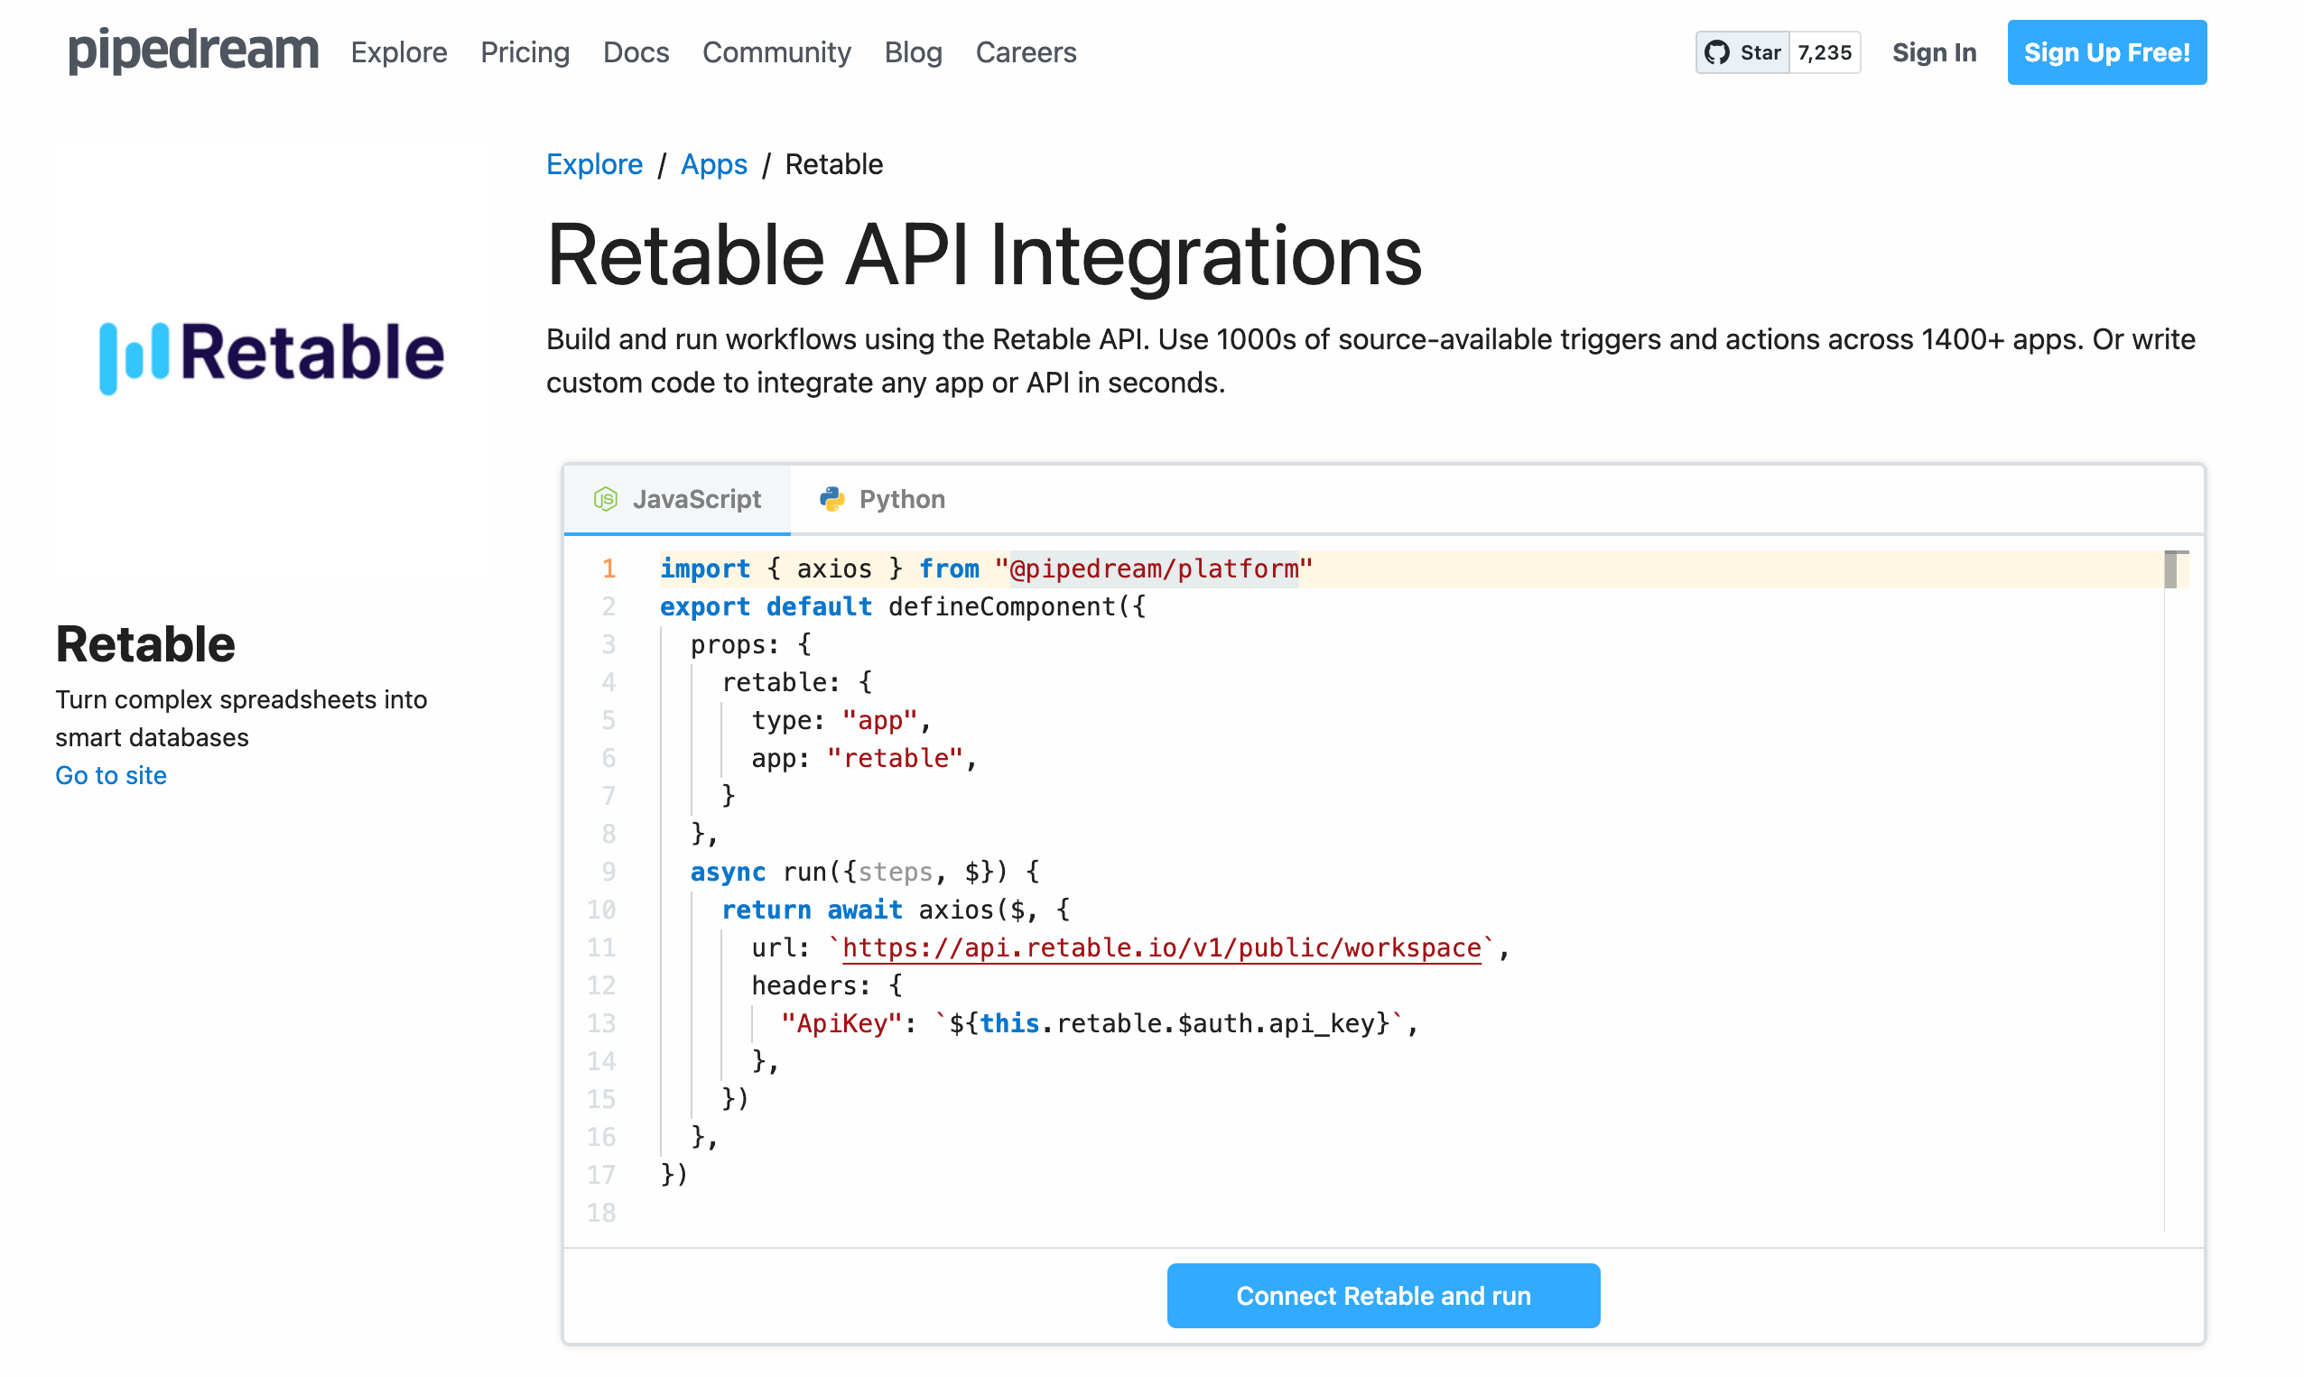
Pipedream is an API that allows you to build applications that can connect to various data sources and processes them in real-time. You can use Pipedream to create applications that can perform ETL (Extract, Transform, and Load) tasks, as well as to create data-driven workflows.
Albato
Integrate Retable with Albato in seconds! Save time and money with this powerful workflow automation tool for seamless app integration.
Available actions
Inserts new record to the given Retable
Update row of a specific Retable
Delete row of a specific Retable
Get information about the workspace
Before setting up integrations with Retable, connect the app to Albato. To do this, go to the Apps section and click the Add a connection button.

Select the app and click the Add a connection button.
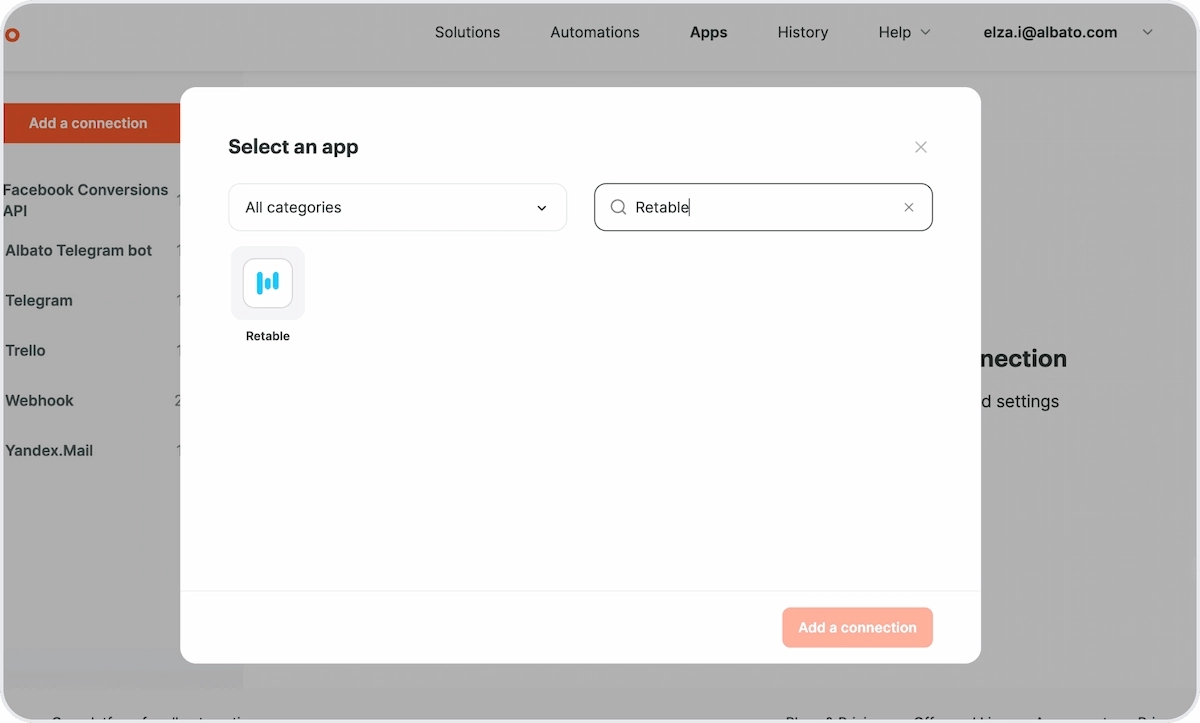
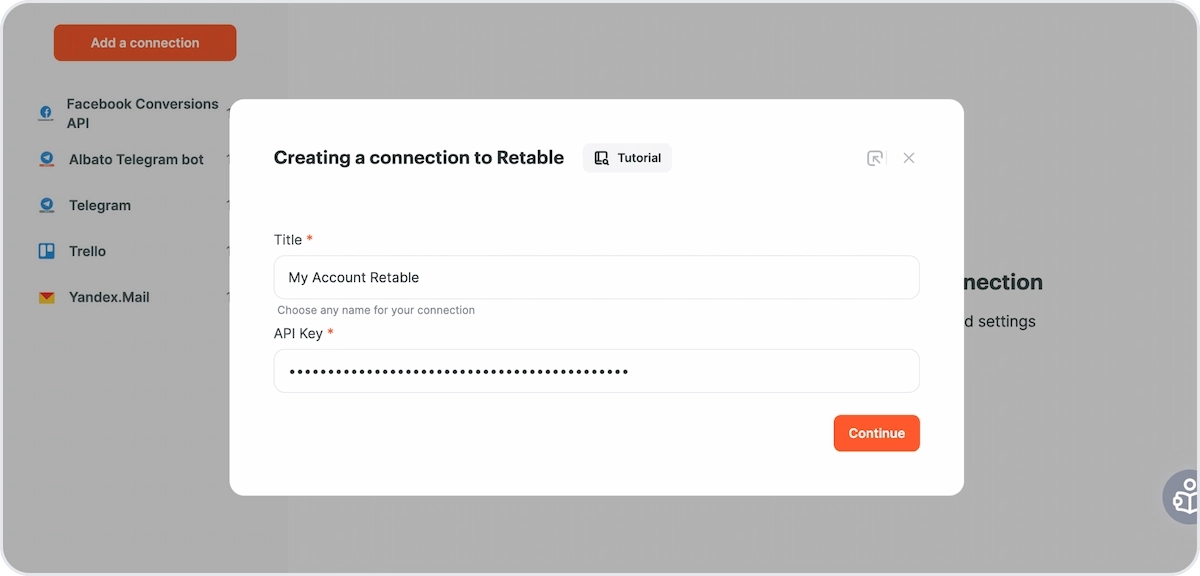
Come up with a name for your connection or save the default one.
Enter your API key.
Click the Continue button.
How to get your Retable API key
Go to your Retable account.
Open your account overview and go to the API tab.
Enable your API key
Copy the key

Go to the Albato connection, paste the key into the API key field.
Integrately
Easily integrate Retable with Integrately in one click. Save time and money with ready-to-activate integrations for 1000+ apps. You can also build your own automations, without any code.

Integrate Retable in 1 click with Integrately
Integrately is 1 click integration platform for non-techies. It is the only platform with millions of ready-to-activate integrations! With Integrately, you can integrate Retable with 1000+ apps in the next few minutes, without any technical skills and zero learning curve. Just find your automation and activate it.
Pabbly
Connect Retable with more than 1,000+ apps. Just select the app and you're good to go. No installation is required! Automate anything with Retable's Pabbly integrations!
With Pabbly Connect, you can easily connect and integrate Retable with different applications associated with CRM, Sales, Marketing, Productivity, or any apps.
What is Pabbly Connect?
Pabbly Connect is an integration application that connects multiple applications together so that you can send data from one application to another application. Just 3 simple steps and you're good to go ahead with Retable integrations!
Pabbly Connect supports all the popular apps for CRM, Marketing, E-Commerce, Helpdesk,Payments, Web forms, Collaboration and much more...

What are tasks in Pabbly?
Any action performed within your workflow is considered a task. Triggers are not included in the task count. Only action steps are included. Internal tasks of Pabbly Connect, such as Filter, Router, and Formatter, are not counted as tasks.
For example, sending one lead from Facebook Lead Ad to MailChimp counts as one task. If you have a multi-step automation workflow, the task count will depend on the number of action steps. For example, sending one lead from Facebook Lead Ad to MailChimp and then to Google Sheets would count as two tasks. Learn more.
What are Operations in Pabbly?
Every check made to an external application to see if there is any new data in a day is counted as an operation. So, if a check is made every 5 minutes, that is 288 operations in a day, whether or not there is any new data. However, Pabbly Connect does not charge for operations. That’s why we say we provide unlimited operations.
For example, if you have a workflow that constantly checks a Google My Business page for new reviews and sends replies, each check of the page to see if there are any new reviews counts as an operation. So, whether or not you send a reply, you will always use 288 operations in a day.
What are workflows in Pabbly?
A workflow consists of a trigger and one or more action steps involving the applications you want to integrate. A workflow can have a single trigger and one or more actions. When you turn on your workflow, the action steps will run every time the trigger event occurs.
Will my data sync automatically?
Yes, all data will be synced automatically once you set up your triggers and actions correctly. Automation software works on the principle of “set it and forget it,” running automatically around the clock for you.
Use Case Example: How to Add Record in Retable for New Row in Google Sheets - Google Sheets Retable Integration
Make
Connect Retable with any of your favourite apps in just a few clicks. Design, build, and automate anything for your work by integrating apps like Retable to create visual automated workflows. Choose from thousands of ready-made apps or use Make's no-code toolkit to connect to apps not yet in our library.
Connecting Retable on Make.com
Connect Retable with any of your favorite apps in just a few clicks. Design, build, and automate anything for your work by integrating apps like Retable to create visual automated workflows. Choose from thousands of ready-made apps or use Make's no-code toolkit to connect to apps not yet in our library.
Build your Retable Integrations with Make.com
Create custom Retable workflows by choosing triggers, actions, and searches. A trigger is an event that launches the workflow, an action is the event.

How do I get started with Make.com?
Start by registering for Make. As a new Make user, you’ll automatically be assigned a free account. Once your account is set up, you can start creating your first scenarios. We recommend starting with our step-by-step video tutorial.
What is a scenario?
A scenario represents a workflow or a project of your own creation, and it is made up of a series of modules that automate apps and services. Creating a scenario allows you to transfer and transform data between apps and services via these modules to automate anything and improve the way you work.
What is a module?
Modules are the main building blocks of automation in Make. Modules represent actions that Make performs with an app, like creating, updating, or deleting data.
What is mapping?
Mapping links the modules in your scenario. When you map an item, you connect the data retrieved by one module to another module to perform the desired action. For example, you can map email addresses and subject lines to create a spreadsheet using this data.
How to find my Retable API key?

Login to your Retable account.
Go to your Account Settings.
Click API tab.
Enabled and copy your API Key.

Zapier
Easily integrate Retable with other tools you love, via Zapier integrations! Zapier lets you connect Retable with thousands of the most popular apps, so you can automate your work and have more time for what matters most—no code required.

Connect Retable to 5,000+ apps
Zapier lets you connect Retable with thousands of the most popular apps, so you can automate your work and have more time for what matters most—no code required.
Zapier is a third-party service that connects Retable to many other apps and services, including Google Forms, MailChimp, Calendly, Discord, Hubspot, and more. This article is specifically designed to teach you how to design Zaps where Retable is the trigger (i.e. creating a new record in Retable triggers a Zap), and where Retable is the action (i.e. doing something in another app/service will automatically trigger the creation of a new record in Retable).
The basic structure of a Zap is that there is a trigger app and an action app. Whenever a specified event happens in the trigger app (e.g., for Gmail this might be "An email was received" or for Google Sheets, this might be "When I add a new row") it automatically triggers an action in the action app.
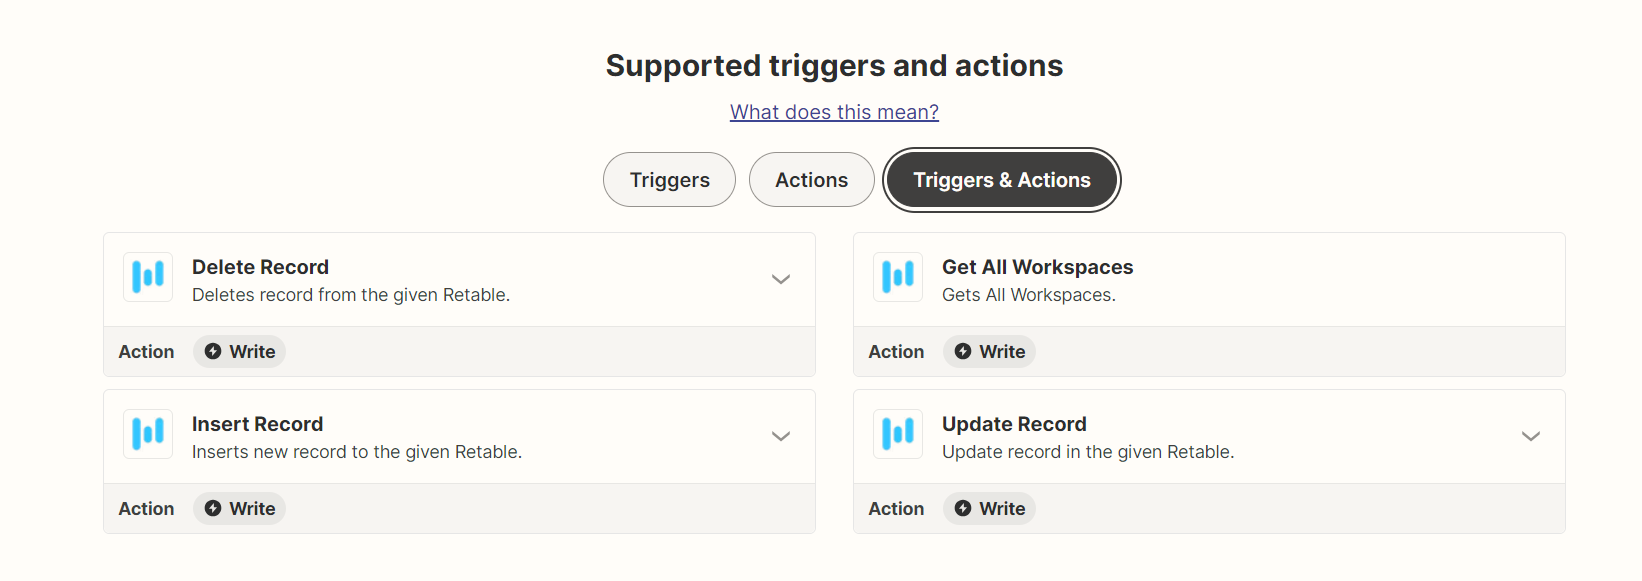
Some examples of Zaps might include:
Whenever a new record is created in Retable (the trigger app), create a corresponding event in Google Calendar (the action app).
Whenever a new subscriber is added in Hubspot (the trigger app), create a new record for that subscriber in Retable (the action app).
Whenever you get a new follower on Twitter (the trigger app), create a new record in Retable for that follower (the action app).
To make a Zap with Retable , you'll need to log in to Zapier (or create an account). From the home page, click the "Create Zap!" button.

When making the Zap, you can decide whether you want Retable to be the trigger app or the action app. In either case, you'll need to connect your Retable account to Zapier. To do this, you'll need to copy your API key from your Retable account page and paste it into Zapier when prompted.

Dokin
Dokin is a no-code solution that automates the process of connecting data from external software to Google Workspace applications.With customizable templates and built-in data integrations with HubSpot, Google Analytics, Airtable, Notion and more, Dokin streamlines reporting automation, allowing you to build insightful reports in seconds.With Dokin, you can connect data from business apps to sheets, slides or documents in one click.
How can Retable & Dokin integration help you?
With Dokin you can easily import your tables and reuse them across Google Sheets, Slides and Docs.
With Dokin & Retable integration you don’t need to worry about manually updating your Google Slides or Google Docs every time your data changes.Your documents and presentations are always synced to live data. We recommend starting with our step-by-step video tutorial.
Relay
Relay makes it easy to integrate Retable with other apps to automate workflows for yourself and your team. Build your first playbook today and start automating your Retable workflows in minutes.
Relay automates more of your work than any other tool by combining AI assistance, human-in-the-loop collaboration, and a multiplayer experience. You can embed AI in any workflow, with no prompts needed. You can generate content for templated messages, extract information from incoming emails, summarize user feedback, classify customer support tickets, and more.
Relay has integration with 70 different tools, and you can quickly integrate these tools with Retable by taking a look at the tools that Relay is integrated with.
Retable's Relay integration includes the following triggers and actions:
Trigger: Row added
Trigger: Row changed
Add row
Update row
Delete row
How to integrate Relay & Retable?
Create your relay.app account
Start building your playbook
Add a trigger
You can select Retable as a trigger. Or, if you want to get an action in Retable as a result of an action that will be triggered in a different tool, you can choose a different tool as the trigger.
If you want to take action in a different tool when an action is triggered in Retable, you can choose Retable as the trigger.
Relay's Retable trigger gives you two trigger options: row added & row changed.
You can choose the one you need from these two triggers.
After making your selection, type your Retable API key.

After selecting your trigger and entering your Retable API key, you must select a Retable project and table from the panel on the right.
After selecting your table, your rows will be listed with their IDs and columns.
You can also make advanced settings for your trigger from the panel on the right.
Then, you can add a new step and select the application you want to take action on.
You must also make the necessary settings for the other application you want to connect. These settings vary depending on the application you choose. At this point Relay.app will direct you.
For example, if you select Google Sheets, you must grant access to relay.app to connect to your Google Drive. Relay app allows you to adjust your permission settings by displaying relevant pop-ups.

After selecting your application, you can easily make the relevant action settings from the panel that opens on the right.
After completing all your settings, activate your playbook at the top right of your screen.
Then, you can test your integration
Retable & Relay integration use case: How to create tasks in Asana when a row is added in Retable
1) Create the Retable trigger to listen for newly added rows
Every playbook starts with a trigger. The trigger detects changes in your connected apps and runs your playbook in response. Click "Add trigger" and select "Row added" under Retable. Then, select a specific workspace and a table within it. If this is your first time using a Retable integration in Relay, you'll be prompted to connect your Retable account. Now, whenever a new row is added to the selected table in Retable, your playbook will run automatically.

2) Add the Asana automation to create a new task
Now you can create a task in Asana. Add a new step and select "Create a task" from the list of Asana automations. Connect Asana to Relay if you haven't already, then fill out the relevant information about the task, like its title. You can reference fields from Retable to automatically pass along the right data.

3) Turn on the playbook
Finally, it's time to turn on your playbook. Just flip the On/Off toggle in the top-right to 'On', and your playbook will automatically trigger whenever a new row is added to the selected table in Retable.

Activepieces
With the help of the Activepieces and Retable integration, you can integrate Retable with other tools within Activepieces without the need for code and easily automate your workflows.
Activepieces is a no-code tool designed to help you automate marketing, sales, customer service, and internal processes. It is an open-source integration platform. You can host it on your machine, chat with the community, or contribute to Activepieces. You can create automations for marketing, sales, customer support, and internal operations using 100+ apps and pre-built templates. You can also take advantage of the ChatGPT integration to scale your SEO and social media content, as well as automate lead gen.

Actions of the Retable and Activepieces integration
Create Retable record
Get workspaces
Get projects
Get Retables (tables)
Create a workspace
Create a project
How to start
Sign in to Activepieces
Start creating your flow, for this, you need to start by selecting a trigger
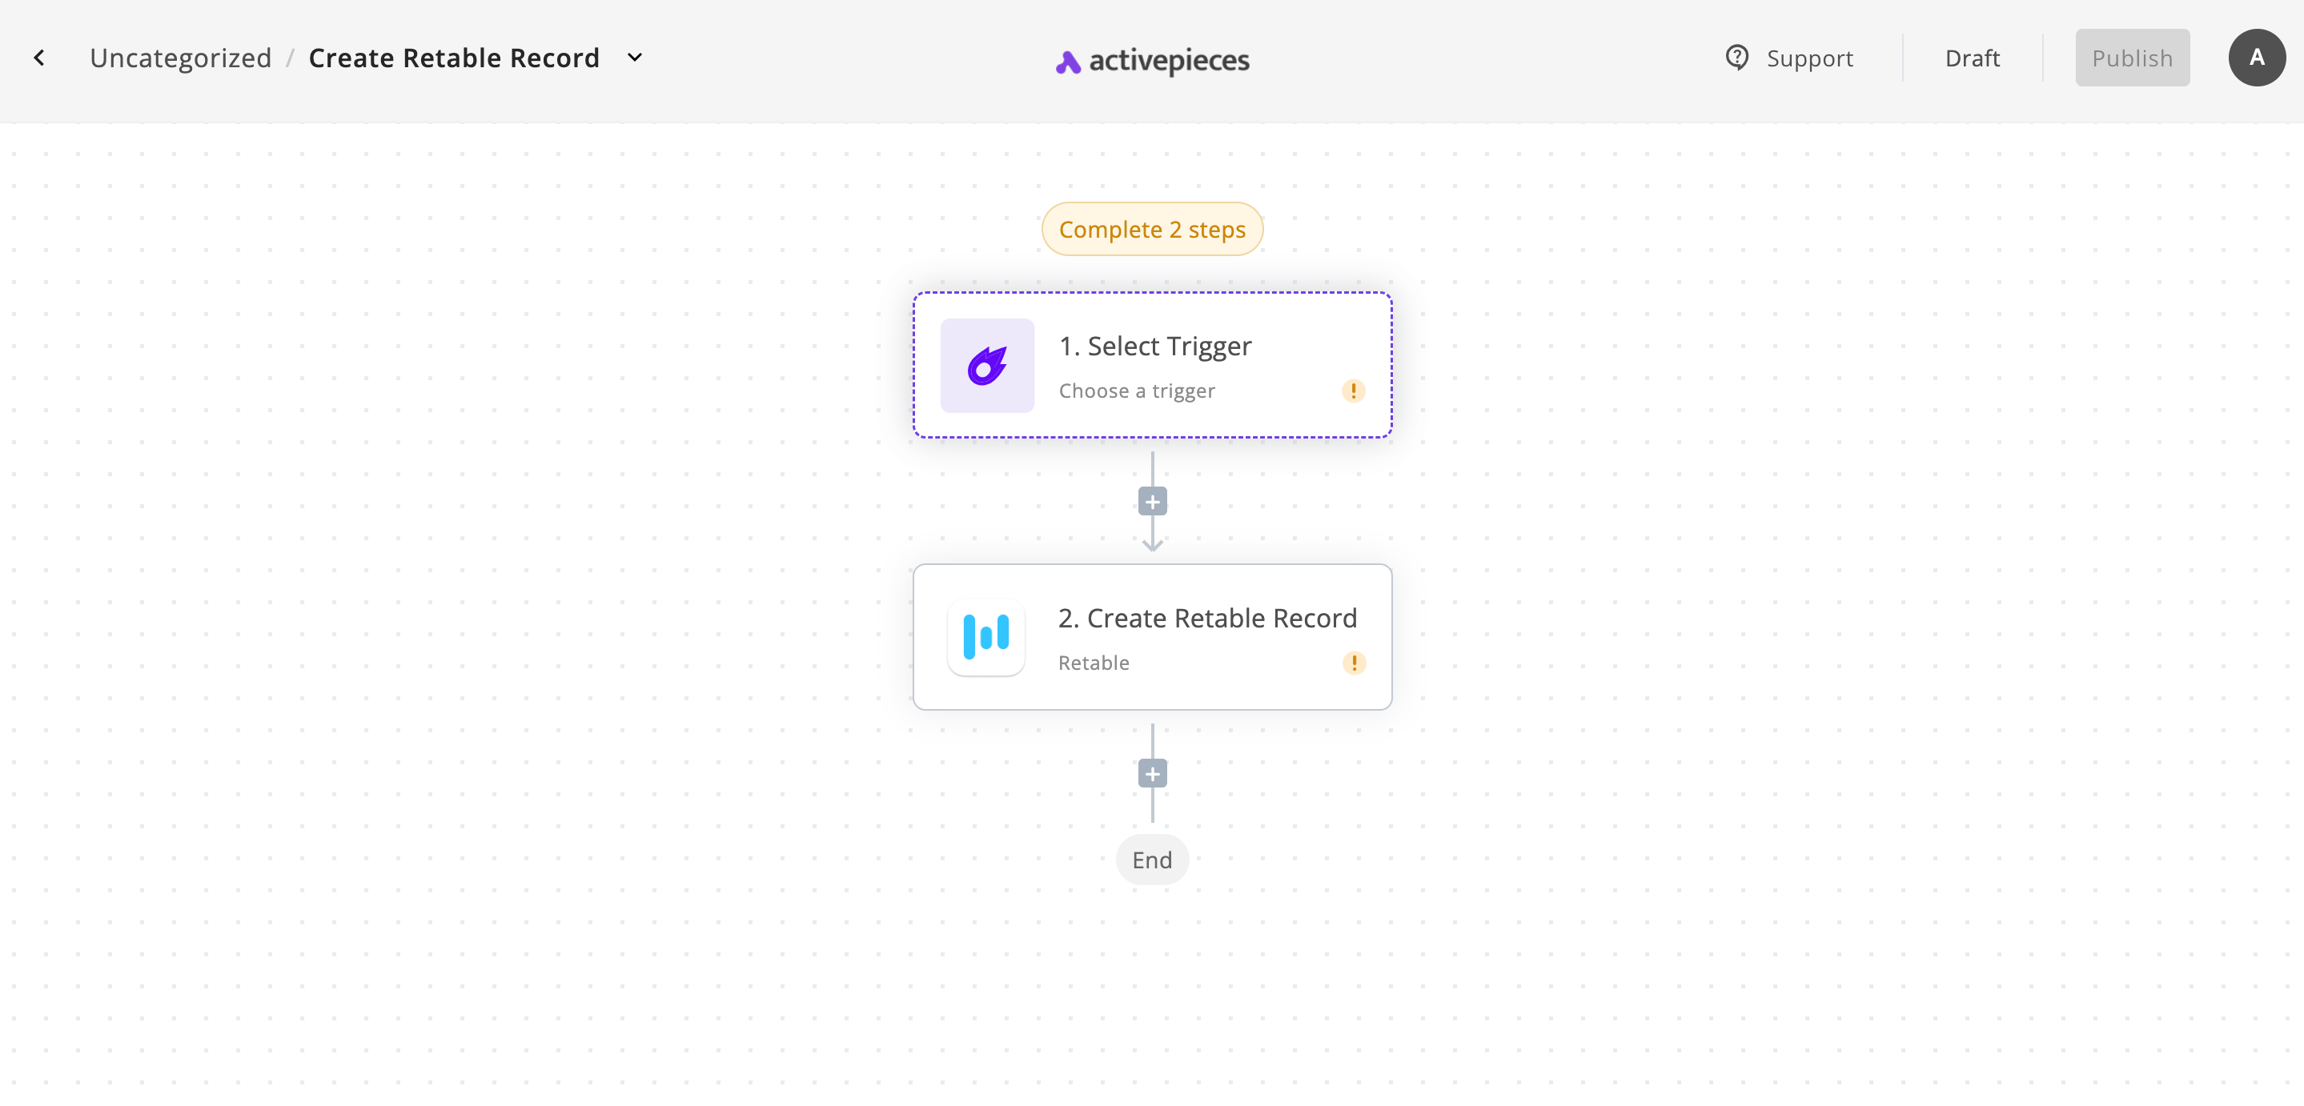
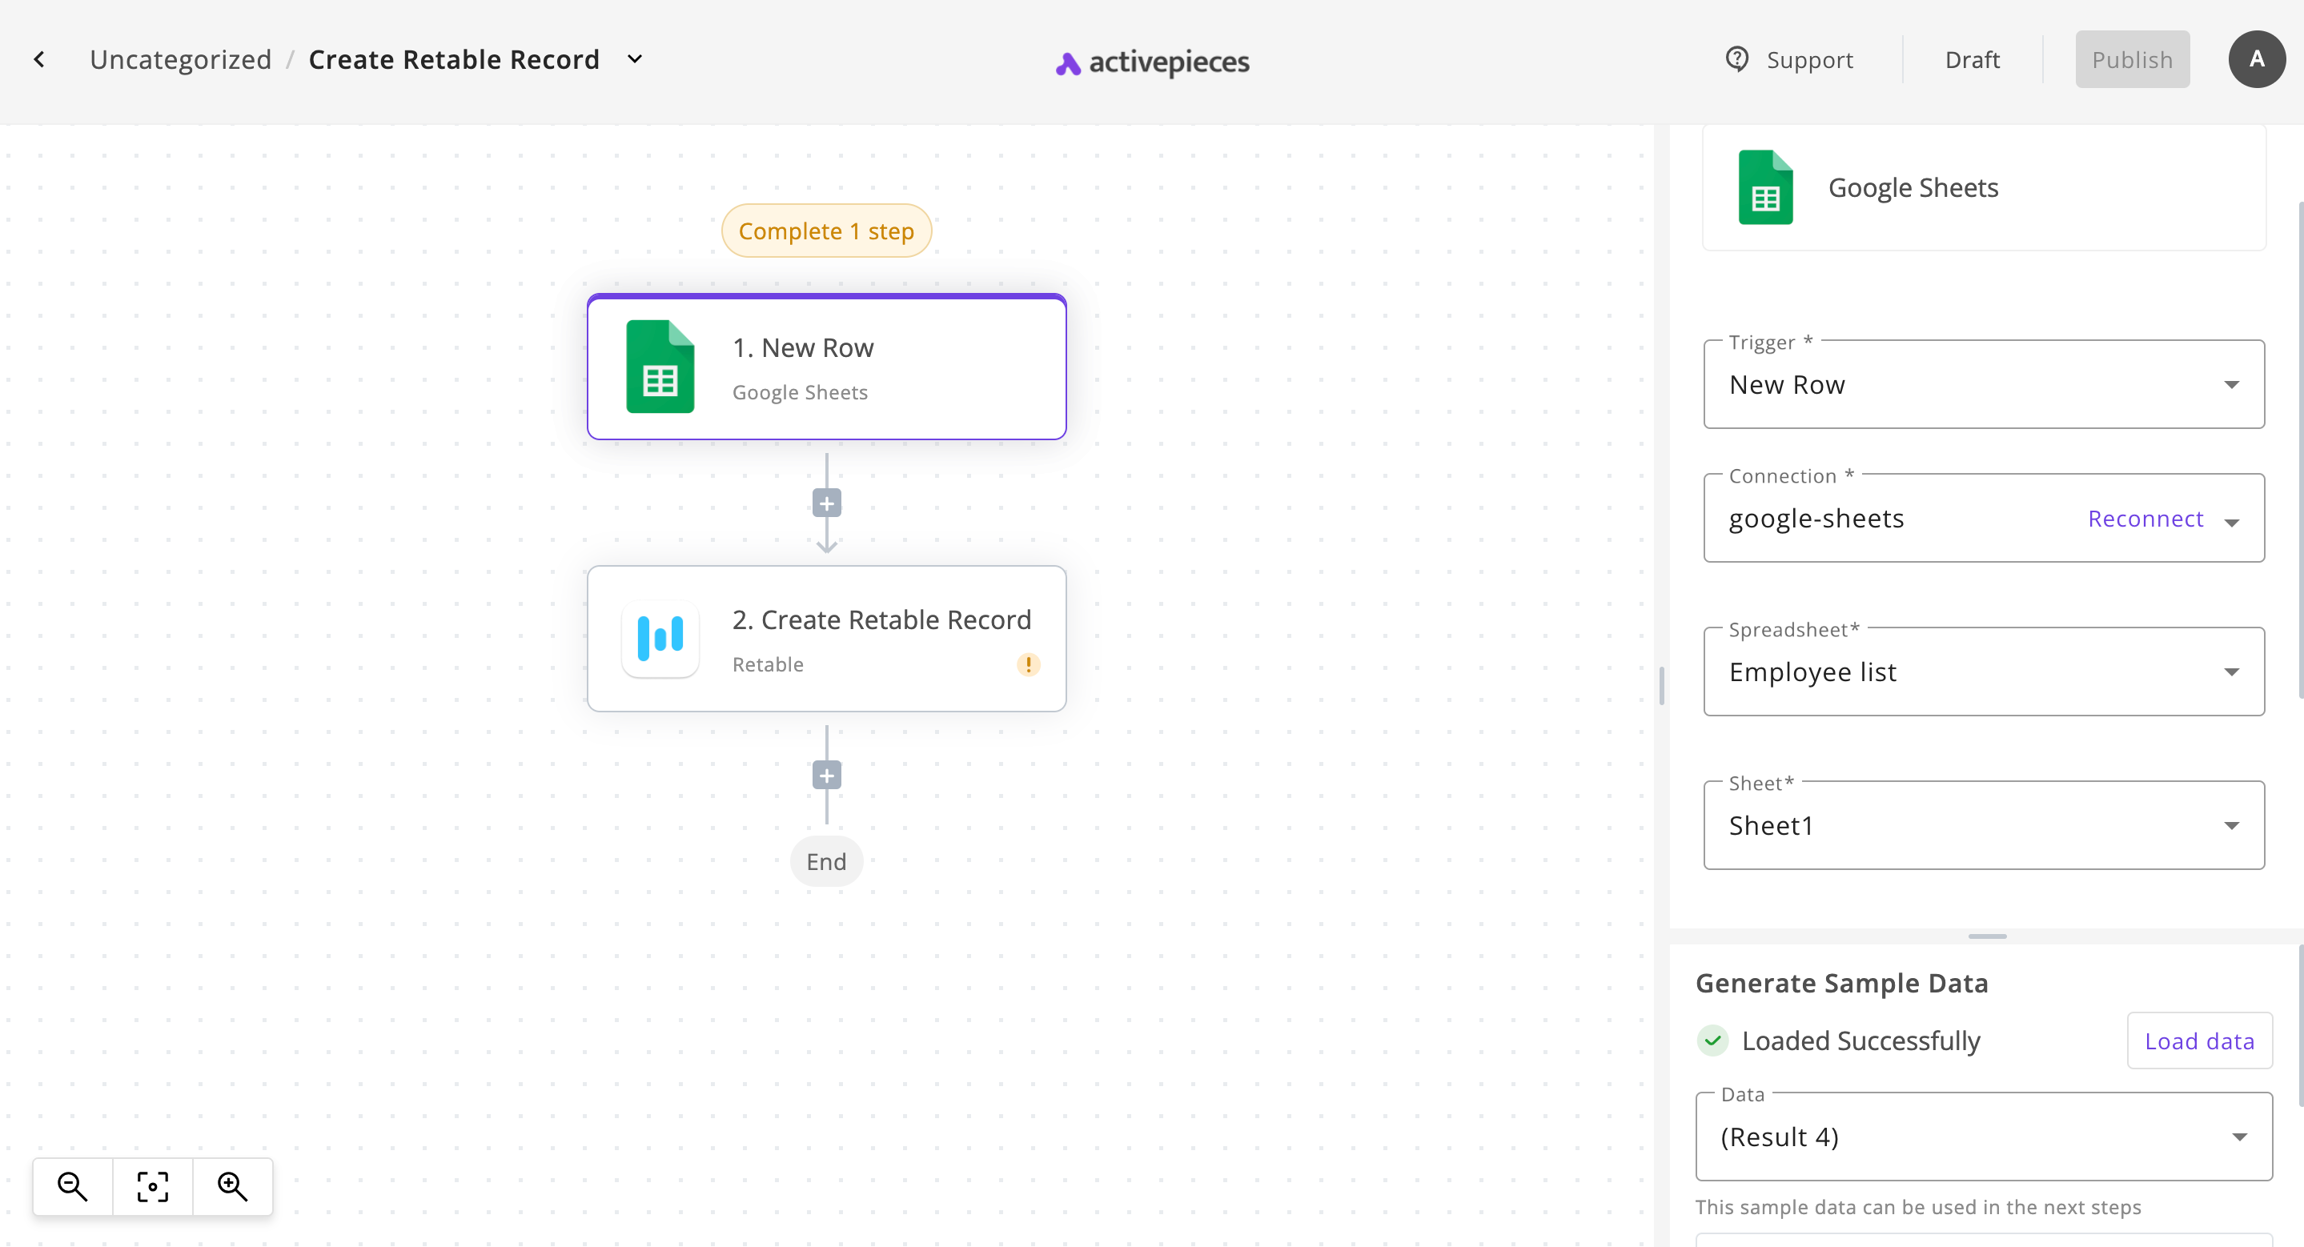
To create a trigger, you can select any of the applications in Activepieces' integration library, select the required fields from the left panel and establish your connections. In this example, we selected Google Sheets as the trigger application and linked a sheet.
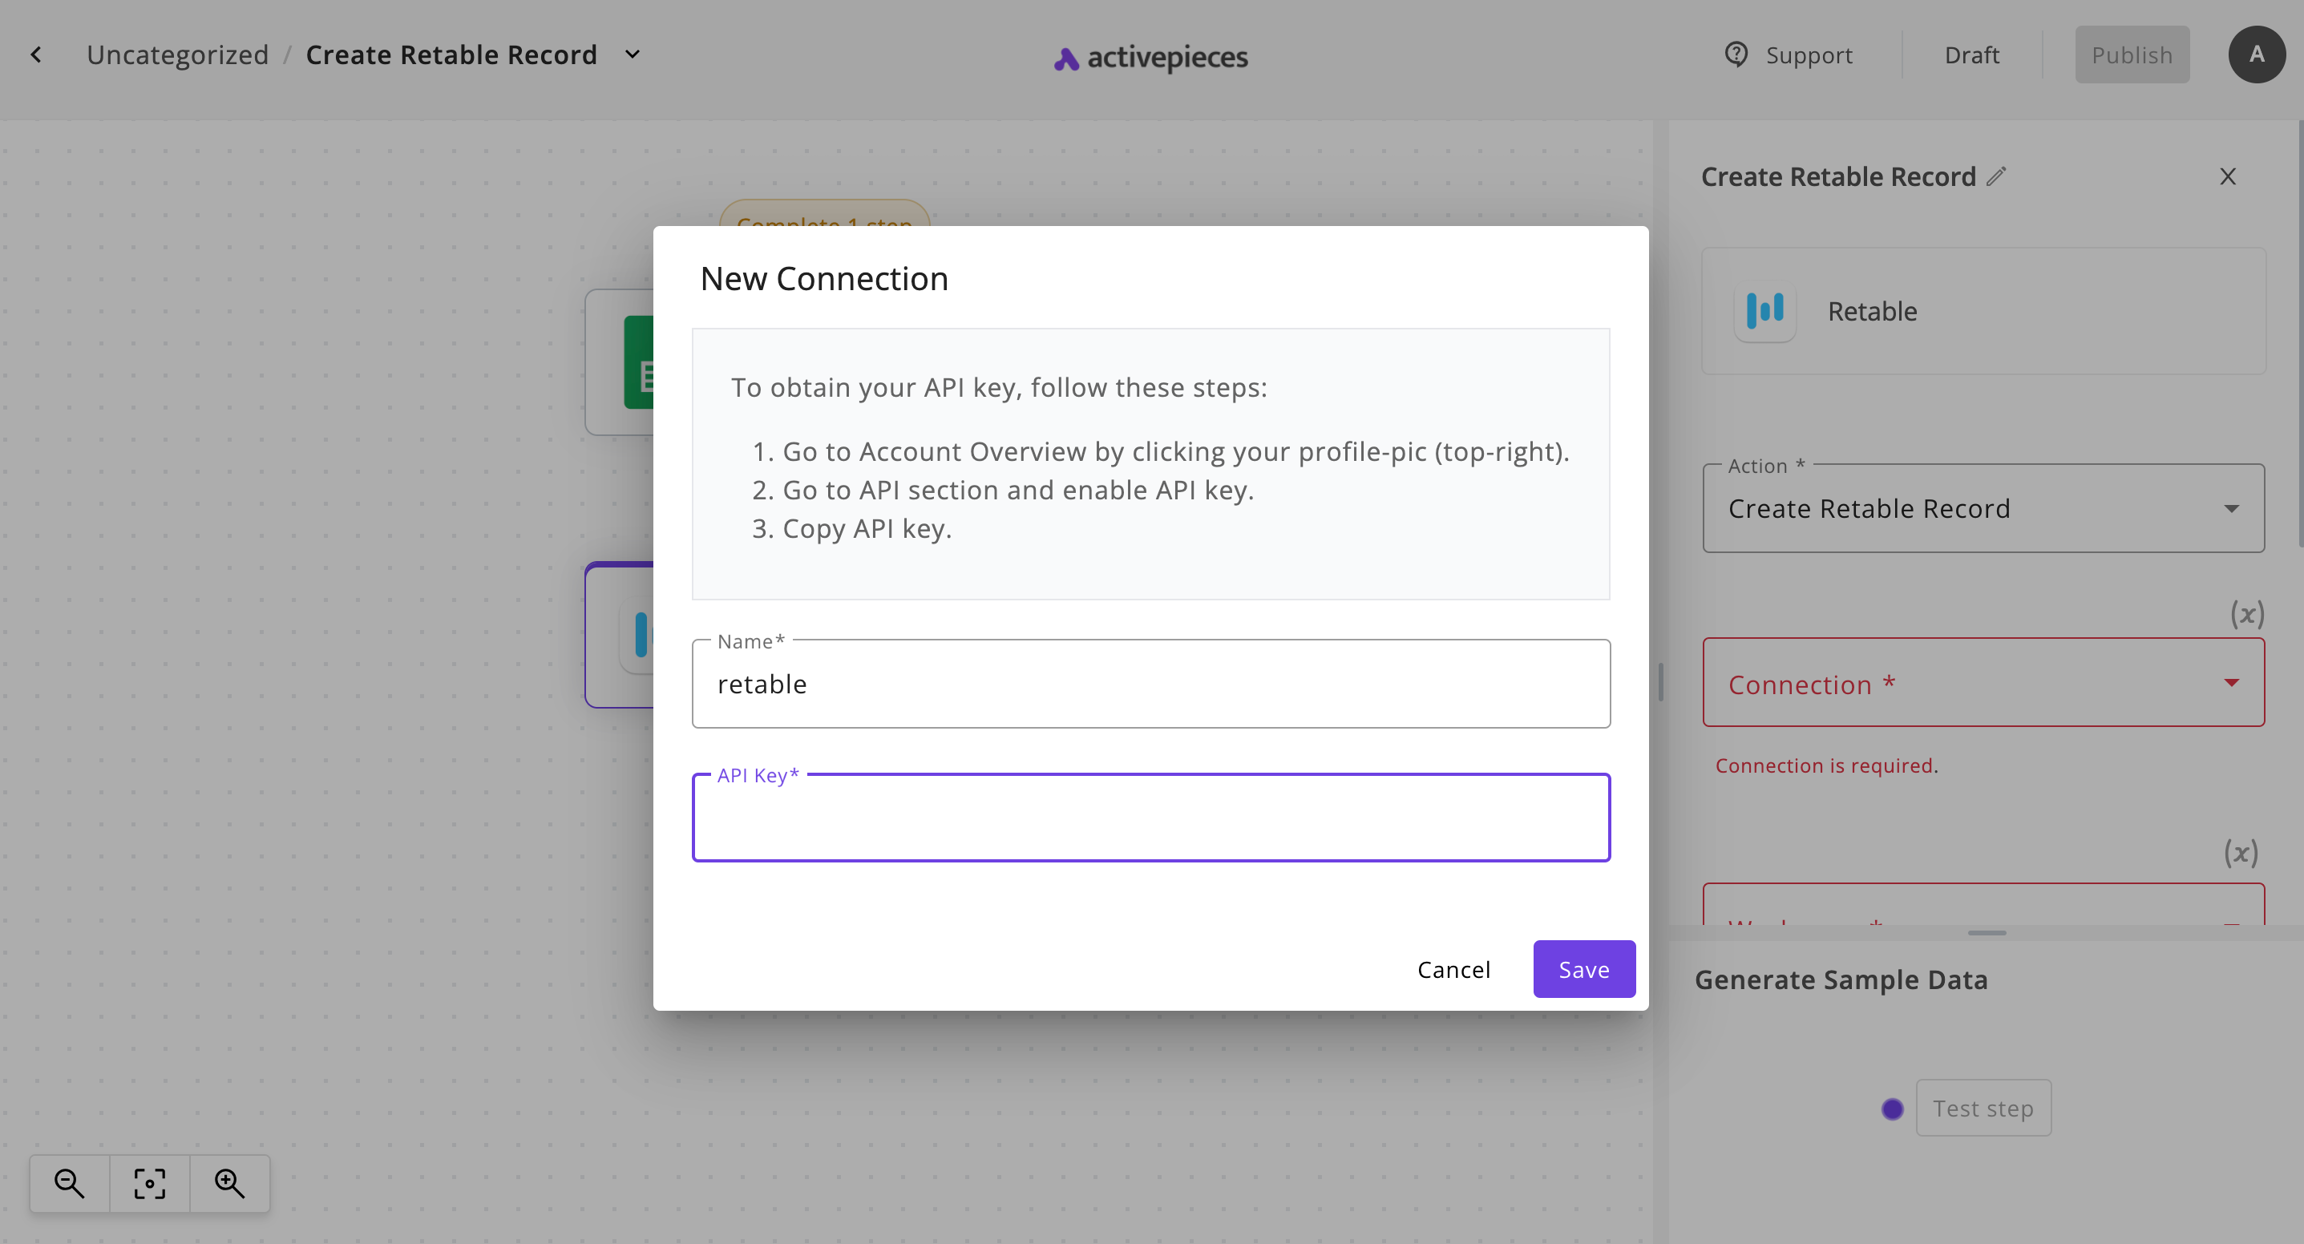
Then, you must connect your Retable account with Activepiece to complete your action step. To do this, simply enter your Retable API key.
Then, you can select your workspace, project and table for which you want action to be taken from the fields on the left panel.
How to get your Retable API key
Go to your Retable account.
Click your profile icon and open the API section
Enable your API key
Copy your API key

Last updated
Was this helpful?